If you’ve read some of my restoration articles, you’ll know that I did the bodywork on most of the cars. I’ve often been asked about how I usually go about this process. There are certainly different ways of doing bodywork and the steps taken here are the ways I do it. I am not saying it will be done the same by everyone, and people will have their own opinion, but if there’s anything that is insightful for you based on my experiences, then this article has served its purpose.
FIRST: DISASSEMBLY
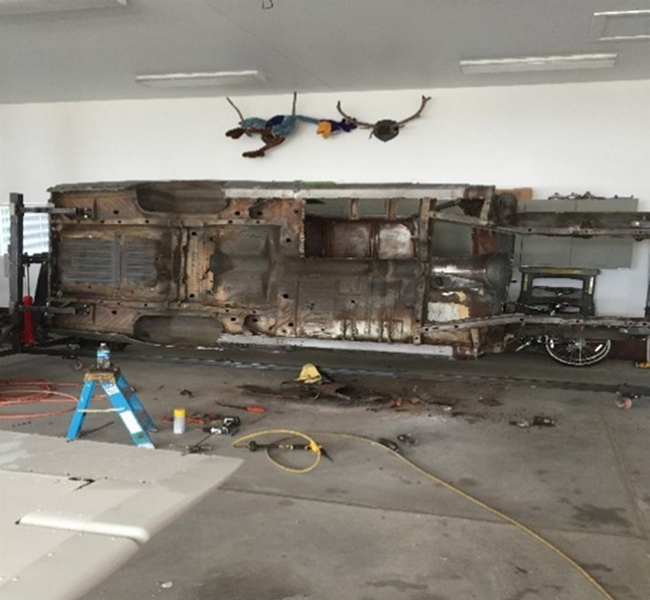
I start all my restorations by totally dismantling the vehicle. This includes removing the drivetrain, all electrical, interior, doors, hood, fenders, trunk lid, glass, all moldings, and anything that can be removed for blasting. The vehicle is then put on a rotisserie, balanced and leveled, in preparation for blasting.
SECOND: SURFACE PREPPING
I have a mobile blaster come out and do soda blasting. It is quite convenient on a rotisserie because the vehicle can be manipulated to any angle to make sure all parts of the vehicle are addressed. I prefer soda blasting over bead blasting because you can easily wash the remaining soda off with a power washer and soapy water. I then wipe down the entire vehicle to remove the remaining water. (The reason that I do not like bead blasting is because you can never get all the sand or media out of all the crevices, and this causes problems during the priming and painting phases.)
After the vehicle has dried, I apply a metal etching solution so there are no adhesion or paint problems. I prefer to keep the vehicle indoors out of the elements to protect it from rusting, bird droppings, sap, or any other contaminants. I then apply two coats of primer to keep the metal from getting any surface rust. Some of this primer will have to be sanded back off in preparation for welding.
THIRD: METAL WORK & WELDING
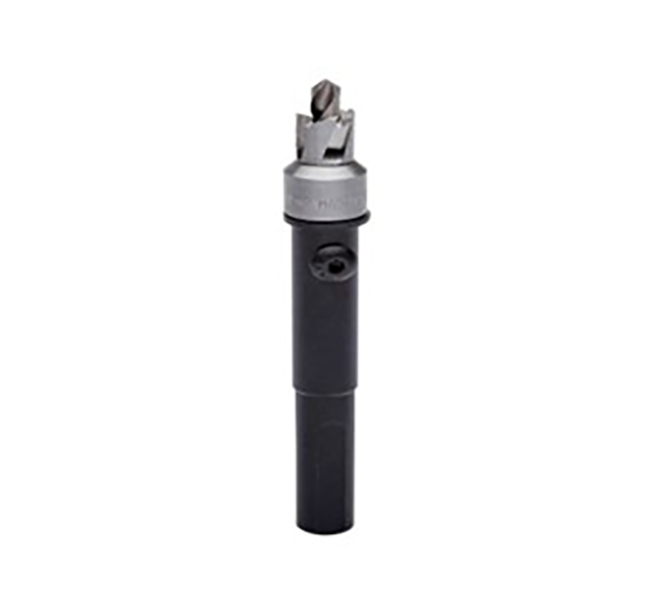
The metal work stage is now started by identifying any damaged or rusted areas. These days most metal replacement parts can be purchased from different vendors. I will order the metal aftermarket parts like quarter panels, door skins, trunk pans, and floor pans. Removing factory spot welds on floor pans and trunk pans is the next step and this can be easily done with a spot weld cutter that fits into any common drill. The spot welds are all cut out and the damaged or rusted pieces can be removed.
When replacing a part of a metal panel (or quarter panel), I will overlay the replacement panel onto the original making sure that everything lines up and attach it with a few self-tapping screws. Using a 4” grinder with a thin cut-off wheel, I cut through both panels at the same time cutting at least 6 inches past the damage or rust. This will give you the proper alignment and a small gap for welding the new one in place.
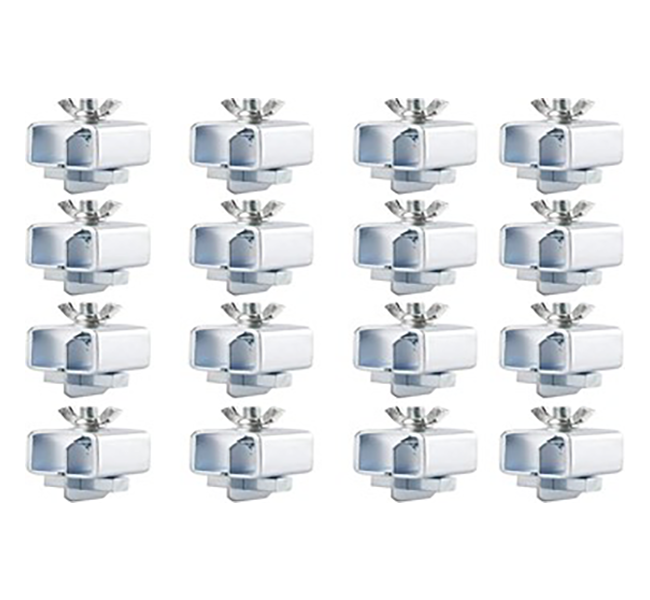
The primer applied in the second step is sanded back a few inches to get a good clean weld. I will then apply a weld-through primer on both sides of the seam where the panels will be welded. (This also applies to plug welds.) This protects bare metal from corrosion and rust during welding by liquefying and galvanizing the metal around the weld. I use Intergrip panel grips to align and hold the replacement panel to the existing panel.
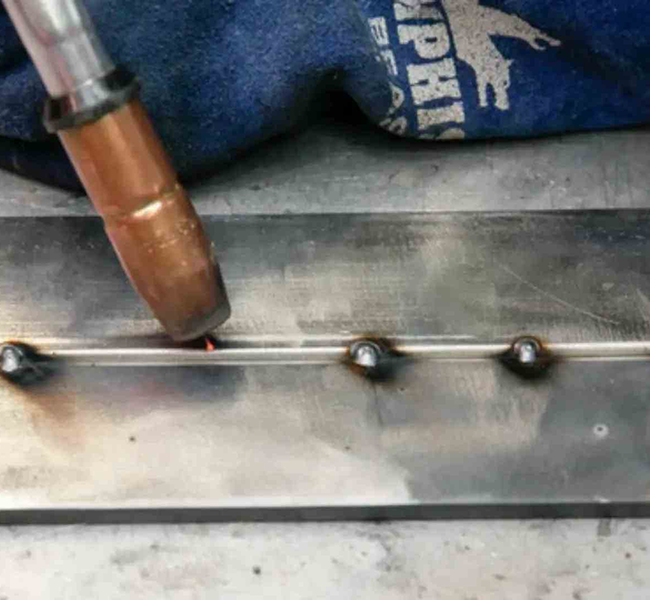
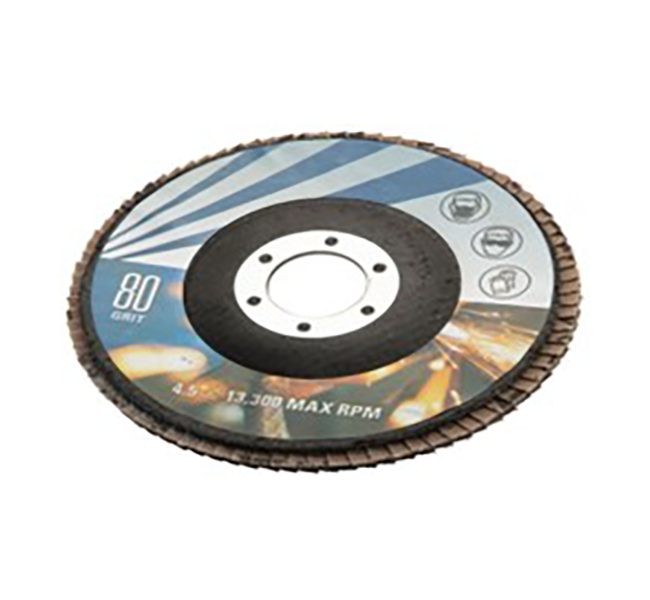
I will start on one end and do a small tack weld, moving at least six inches away to do the next weld. This distributes the heat and reduces the chance of warping the panel. This is a continuous process of doing small tack welds moving across the entire seam until every inch of the seam has been welded. The next step is to grind the welds down. I use a 4” grinder with an 80-120 grit flap disc. Just like the welding process, you should move across the whole seam. If you create too much heat in one spot, you will start to warp the metal, which creates a lot more work in smoothing the panel.
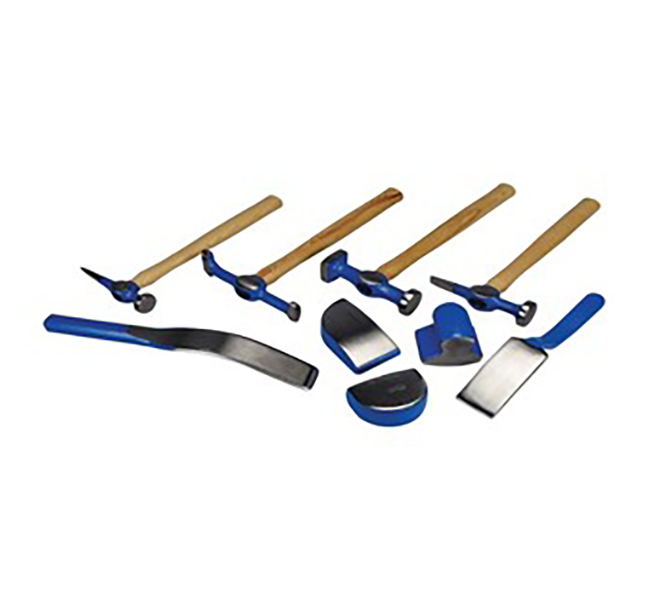
Next, I will use a dolly and hammer to start smoothing the metal from dents, warping, and any other imperfections. This process will ensure that you do not use too much body filler. This is a tedious process and takes time to master.
FOURTH: AFTER WELDING – USING FILLER & SANDING
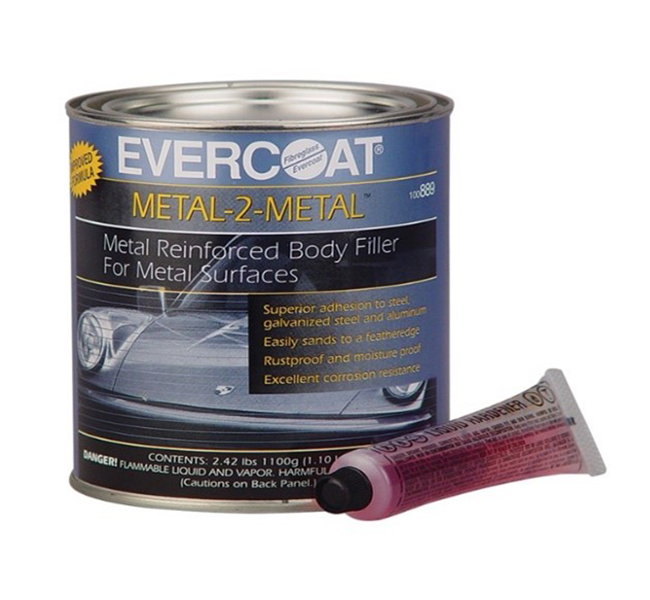
For any welded seams I will then apply a thin layer of Evercoat Metal 2 Metal filler. This has excellent corrosion resistance and will not sag. It is moisture-proof, rustproof, and easily sands to a fine featheredge.
And that is the next step. I use 80-grit sandpaper to get the metal filler knocked down somewhat flat and then follow up with 180-grit sandpaper. After all the metal filler has been smoothed out it is time to apply more primer to all the areas that have been worked on thus far.
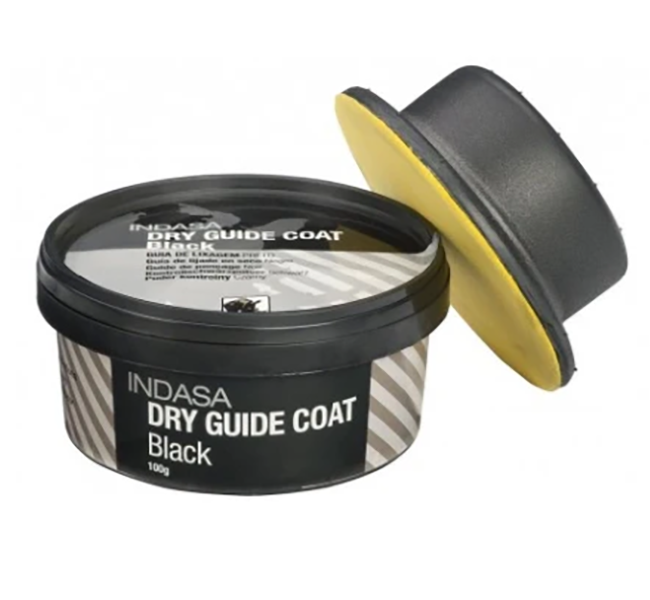
Next, I apply Dura-Gold Premium Black Dry guide coat. This is applied with the provided sponge to the entire surface of the car and is used to see any depressions or protrusions. This is a vital step in making sure the body panels are straight. The guide coat will remain in any depressions and will be easily sanded through on any protrusions.
After the guide coat has been applied, I will start sanding the entire body with a variety of sanding blocks, beginning with 180-grit sandpaper and then moving up to 320-grit. Some are stiff and others are flexible. I use the stiff ones for flat panels and the flexible ones for contours. This is a long process, and I use a crosshatch method to sand the primer down. Once I have sanded the entire body I can see where the depression and protrusions are with the help of the guide coat.
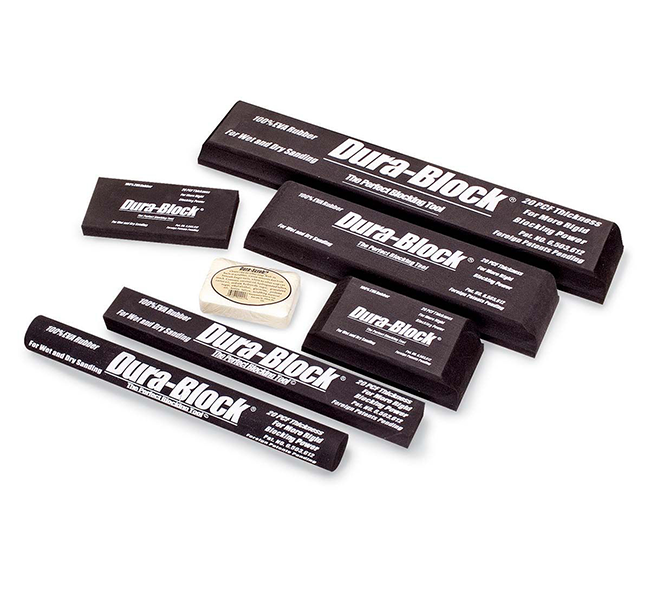
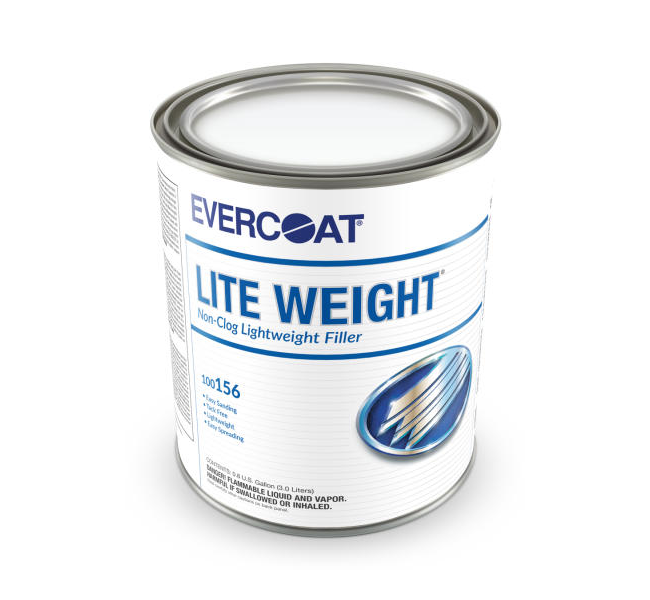
At this point, you may have to do some more hammer and dolly work to fix any depressions or protrusions. In most cases, this is the time to apply a thin coat of lite weight body filler to any areas that may still have a small depression. I use Evercoat Lite Weight Body Filler because it is easy to apply with a body filler spreader and easy to sand. After applying and waiting the proper drying time, it can be sanded with 180-grit followed up with 320-grit. After you think you have everything flat and smooth to the touch it is time for another round of primer.
FIVE: MORE PRIMER & SANDING
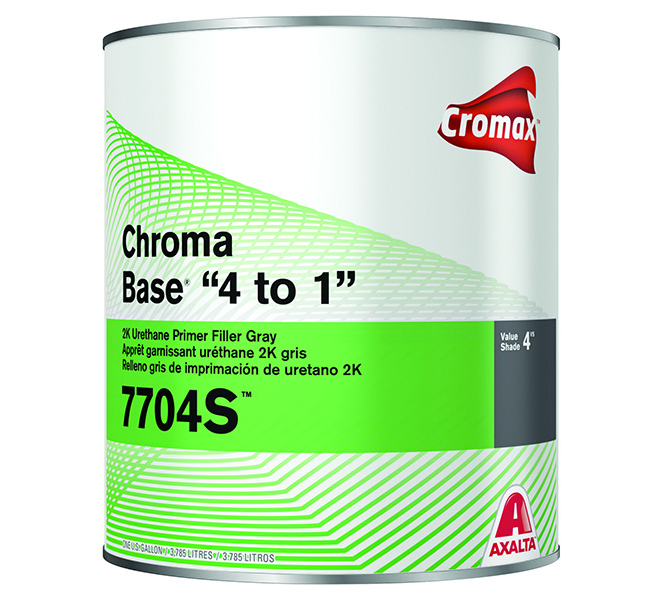
I use DuPont 2K-Urethane Primer-Filler. I apply three medium coats to the entire surface. This high-build primer lays down nicely and fills in any sanding marks from the previous steps. After proper curing time, it is time to apply another coat of the guide coat and repeat the sanding steps again. (180-grit followed by 320-grit, using the sanding blocks.)
*TIP: Before I could afford sanding blocks, I would use paint stirrer sticks from a hardware store with the sandpaper wrapped around them. This worked quite well as long as the sticks were straight.
SIX: FINAL STEP BEFORE PAINT
After all sanding has been completed and I am confident the body is ready for paint, I will then apply seam sealer on the seams, just like the factory did on the floor pans, trunk pan, firewall, and any other areas that require it to keep water out. The drip rails, if the car has them, will also be filled at this time with 2K Self Leveling Seam Sealer.
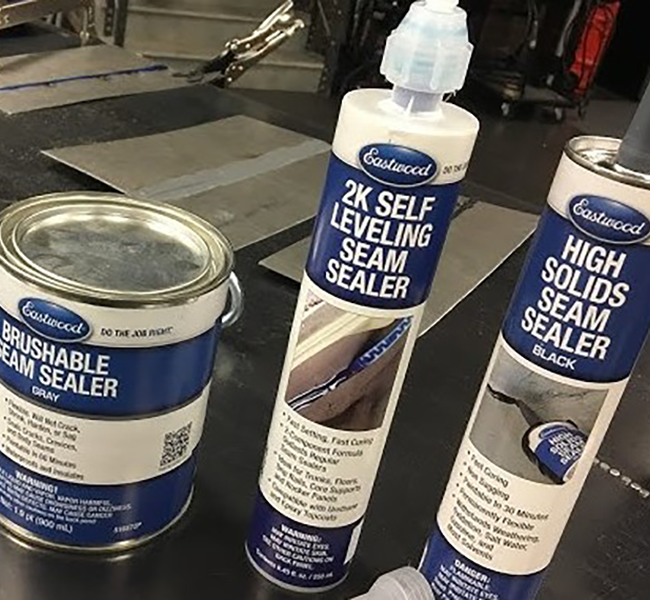
After proper curing time for the seam sealer, the car is ready for paint.
Photo Credit: Олег Мороз
By Jim Ochs
